
Pav Bhaji - Instant Pot
One-Pot Wonder
- Complete the plate
- A full plate on its own
- Turn leftovers into
- Pav Bhaji Pizza →
- Serves
- 4
- Hands-on · total
- 20 min · 72 min (est.)
- Walk-away
- No
Quick with bread. About 20 min if you have bread ready.
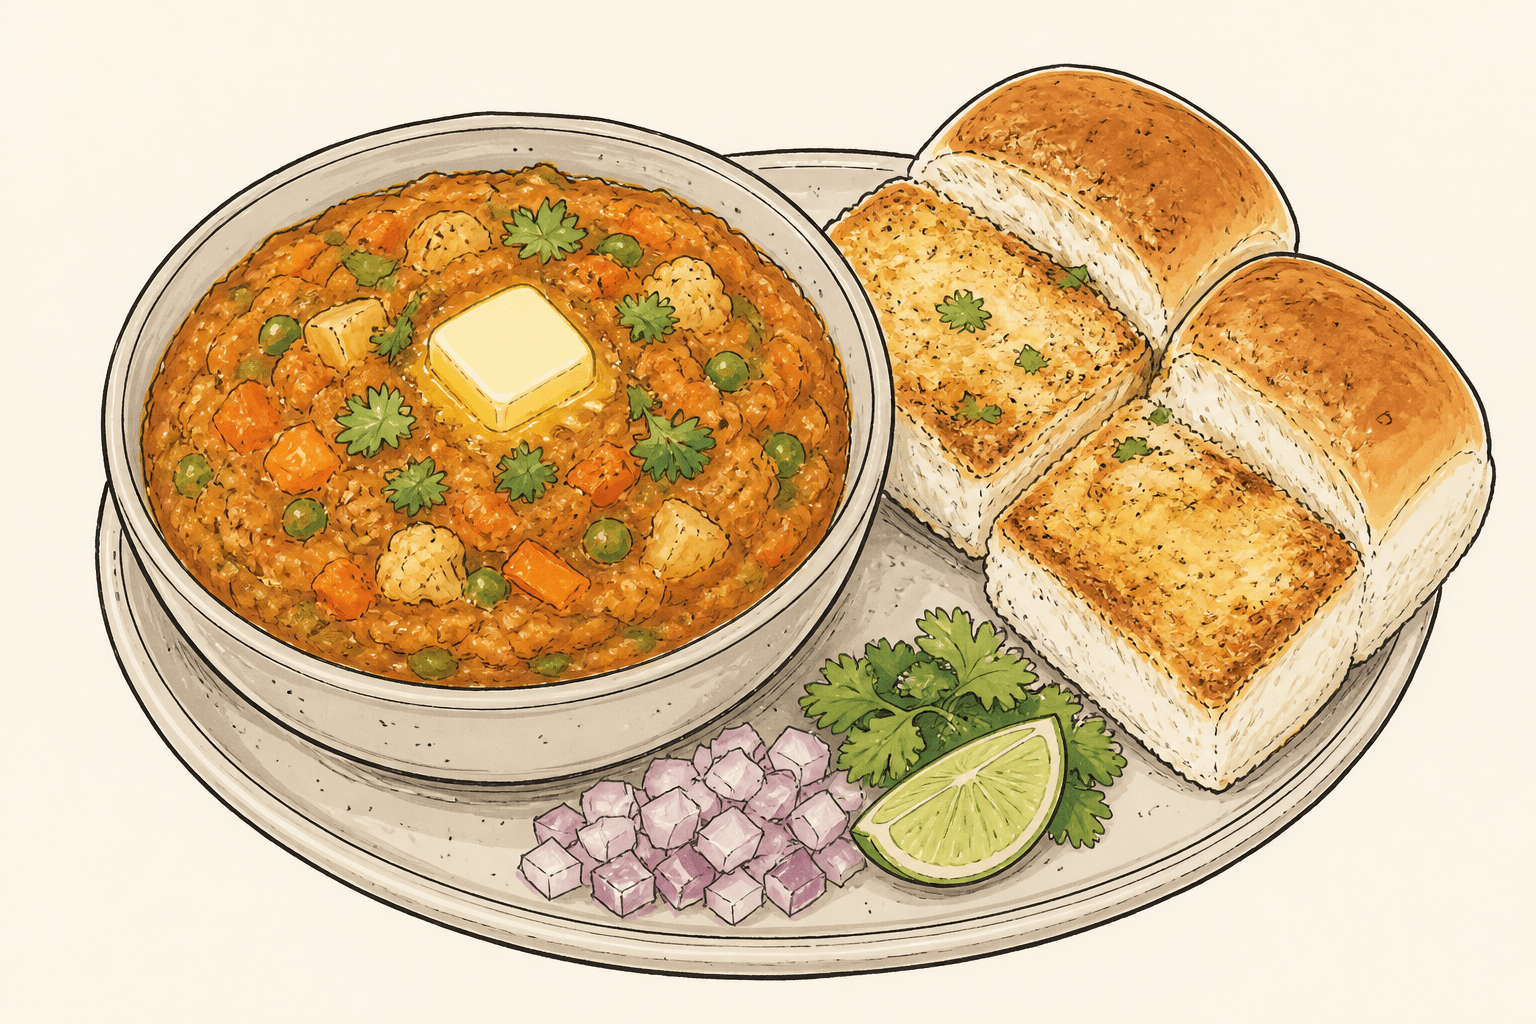 From my
kitchenReal image coming soon!
Worth knowing
- The secret to great Pav Bhaji isn't just the masala - it's the long simmer. Giving the bhaji at least 20 minutes to bubble gently allows all the vegetables and spices to meld into the classic street-style flavor.
- An immersion blender gives a wonderfully creamy consistency while still allowing you to leave a few small vegetable pieces for texture.
- Frozen peas are best added after mashing so they stay bright green and retain a little bite.
- A small piece of beetroot can be pressure cooked with the vegetables if you'd like a richer restaurant-style color, but it's completely optional.
- Don't be afraid to add a little more hot water while simmering. Pav Bhaji should be thick but easily spreadable, not dry.
- Toast the pav with a little butter (or ghee), a pinch of Pav Bhaji Masala, and a sprinkle of cilantro for the full street-food experience.
- Like many comfort foods, every family has their own version of Pav Bhaji. Don't be afraid to adjust the vegetables, spice level, or consistency to make it your own.
Day 2 plan
Make a larger batch of the bhaji and refrigerate it separately from the bread. Reheat the bhaji with a splash of water and serve with freshly toasted pav.
- Cook this meal
Ingredients & method
Prep
20 mins
Cook
52 mins
Total
72 mins
Serves
4Ingredients
Vegetables for the Bhaji
For Serving
Lemon wedges
for toppingFinely chopped onionsInstructions
- 01
Turn the Instant Pot to Sauté mode.
- 02
Add oil and cumin seeds.
- 03
Add onions, tomatoes, and bell peppers.
- 04
Stir in the red chili powder, turmeric, coriander powder, cumin powder, Pav Bhaji Masala, and salt.
- 05
Add the chopped potatoes, carrots, cauliflower, and green beans.
- 06
Pour in enough water for pressure cooking.
- 07
Pressure Cook on High for 3 - 4 minutes, followed by a quick or natural pressure release.
- 08
Mash the vegetables using an immersion blender or potato masher.
- 09
Stir in the frozen green peas.
- 10
Simmer on Sauté (Low) for 10 - 15 minutes, adding water if needed.
- 11
The one-pot version is perfect for busy weeknights and still produces a delicious homemade Pav Bhaji.
- 12
Serve hot with butter-toasted pav, chopped onions, cilantro, and a generous squeeze of fresh lemon.
Worth knowing
- The secret to great Pav Bhaji isn't just the masala - it's the long simmer. Giving the bhaji at least 20 minutes to bubble gently allows all the vegetables and spices to meld into the classic street-style flavor.
- An immersion blender gives a wonderfully creamy consistency while still allowing you to leave a few small vegetable pieces for texture.
- Frozen peas are best added after mashing so they stay bright green and retain a little bite.
- A small piece of beetroot can be pressure cooked with the vegetables if you'd like a richer restaurant-style color, but it's completely optional.
- Don't be afraid to add a little more hot water while simmering. Pav Bhaji should be thick but easily spreadable, not dry.
- Toast the pav with a little butter (or ghee), a pinch of Pav Bhaji Masala, and a sprinkle of cilantro for the full street-food experience.
- Like many comfort foods, every family has their own version of Pav Bhaji. Don't be afraid to adjust the vegetables, spice level, or consistency to make it your own.
Day 2 plan
Make a larger batch of the bhaji and refrigerate it separately from the bread. Reheat the bhaji with a splash of water and serve with freshly toasted pav.
More One-Pot Wonder
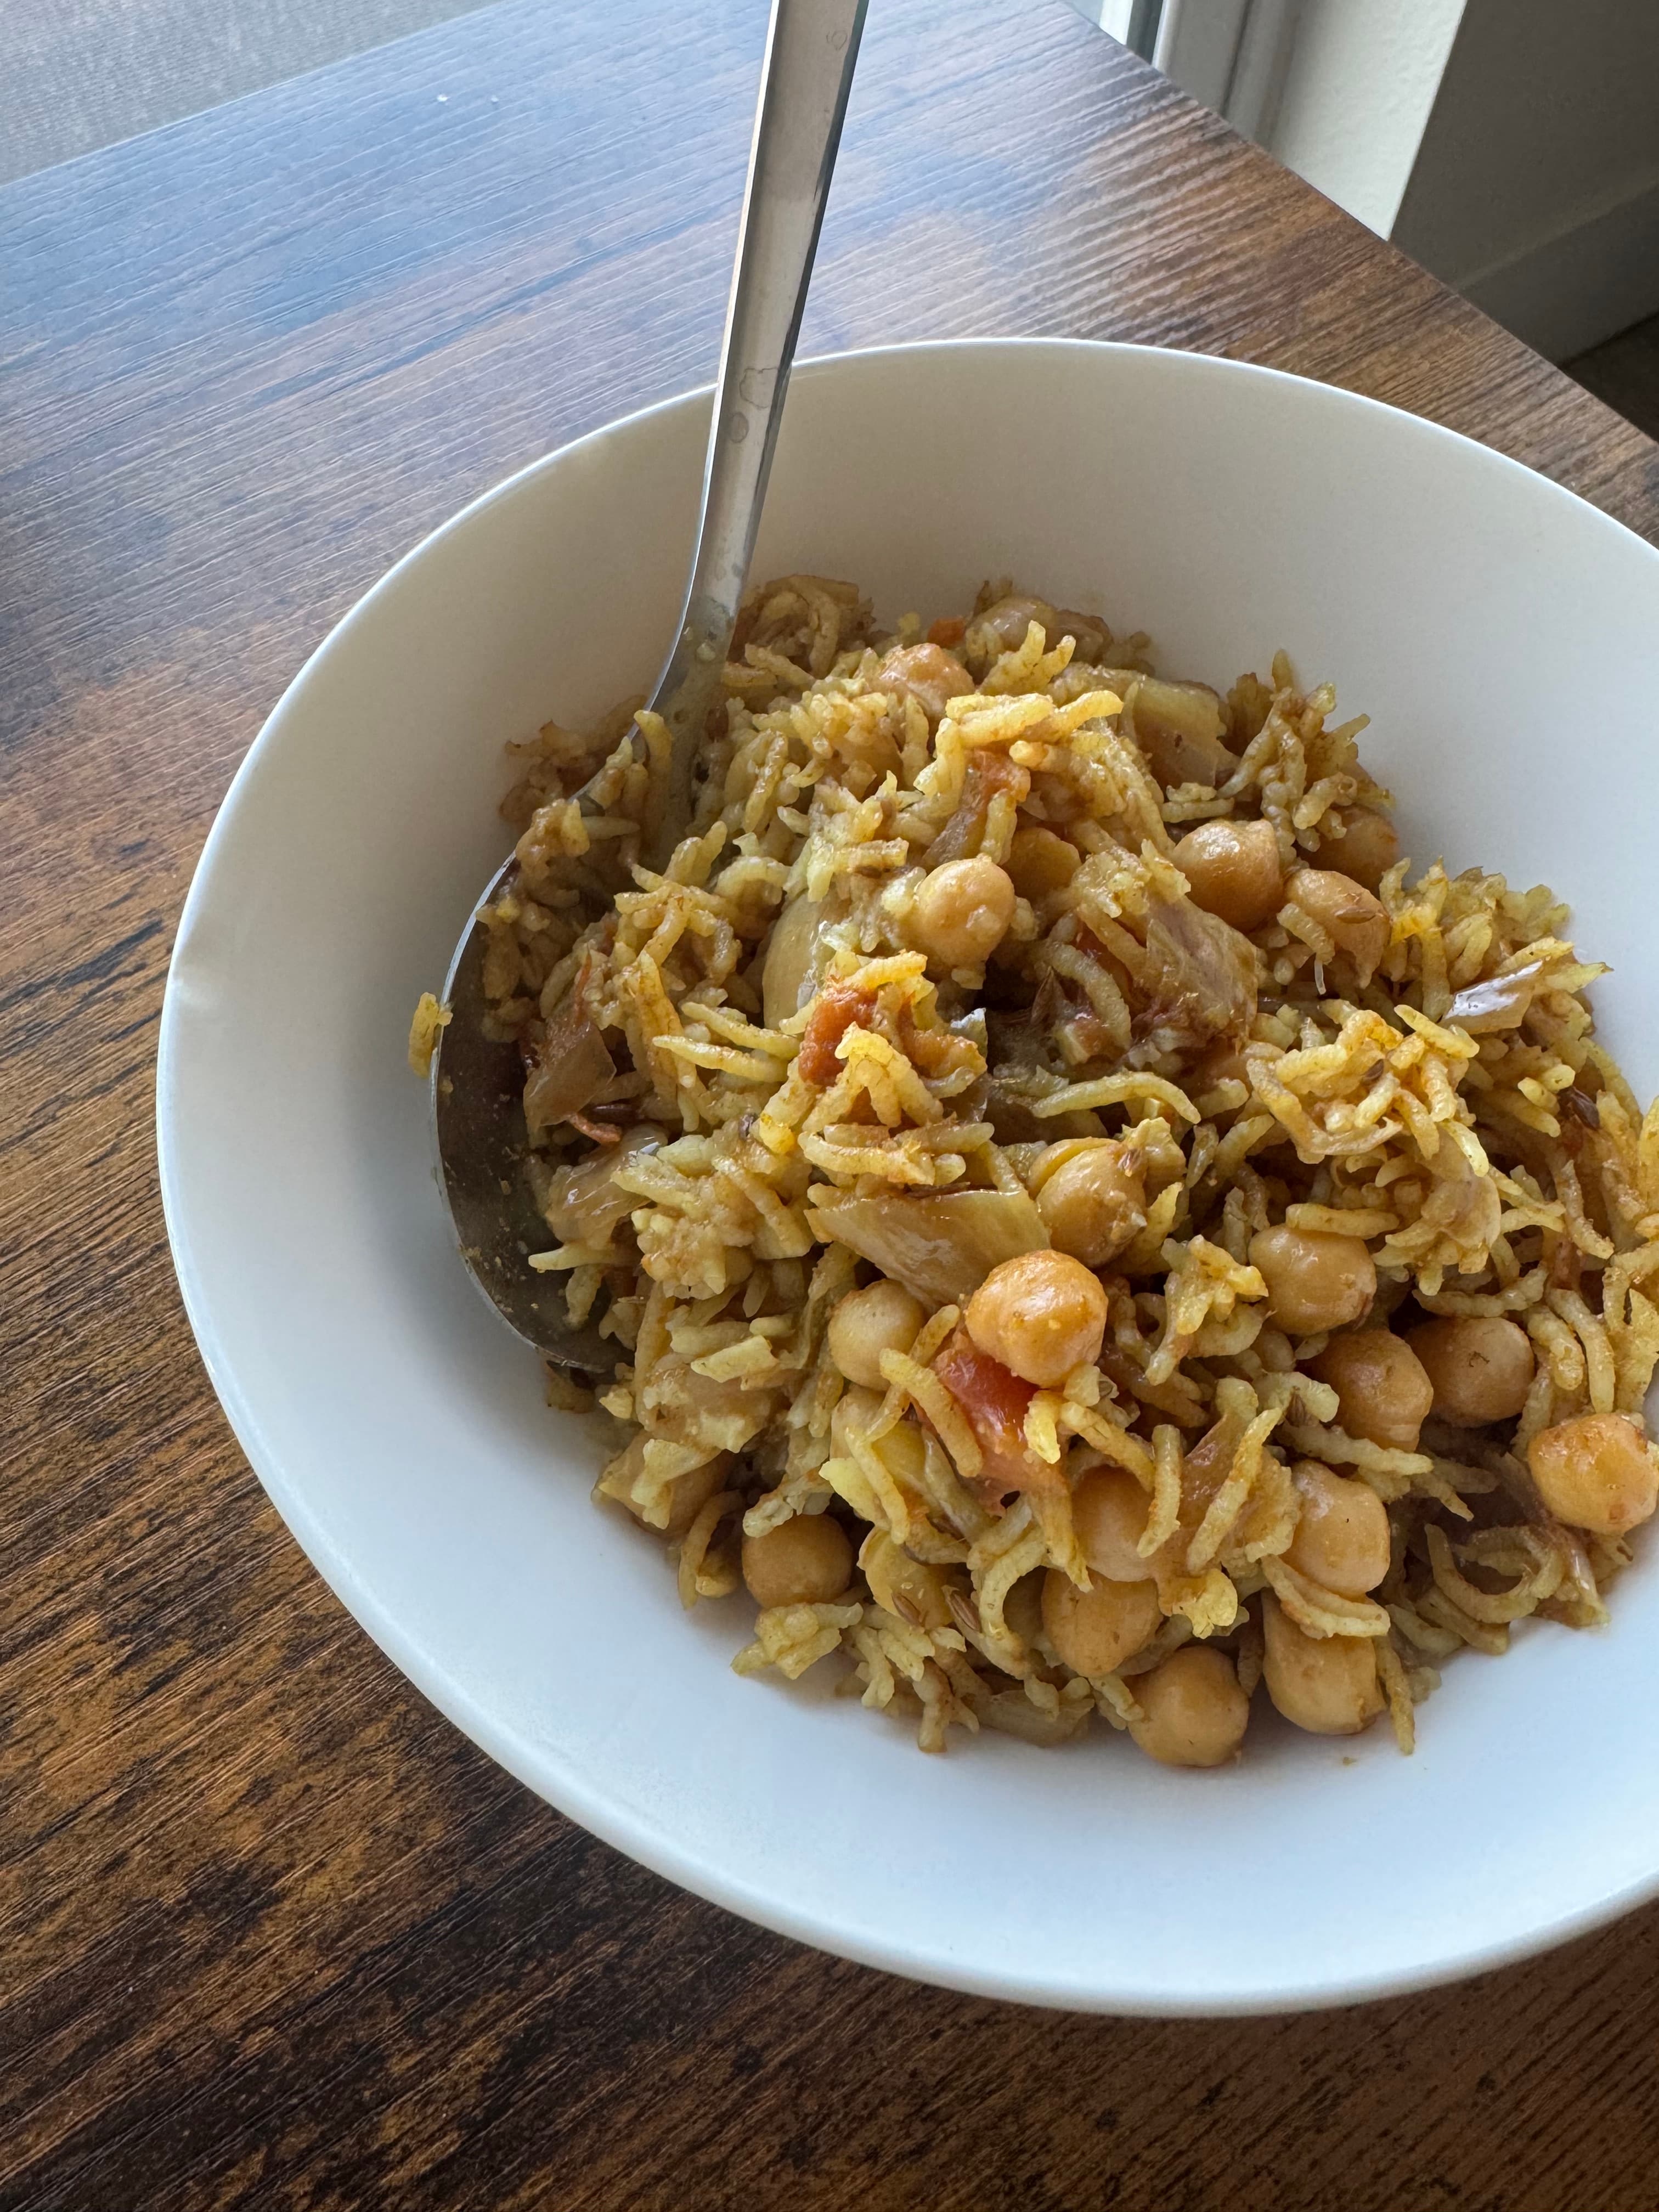
Chole Pulao
63 minOne-Pot Wonder
Complete meal on its own
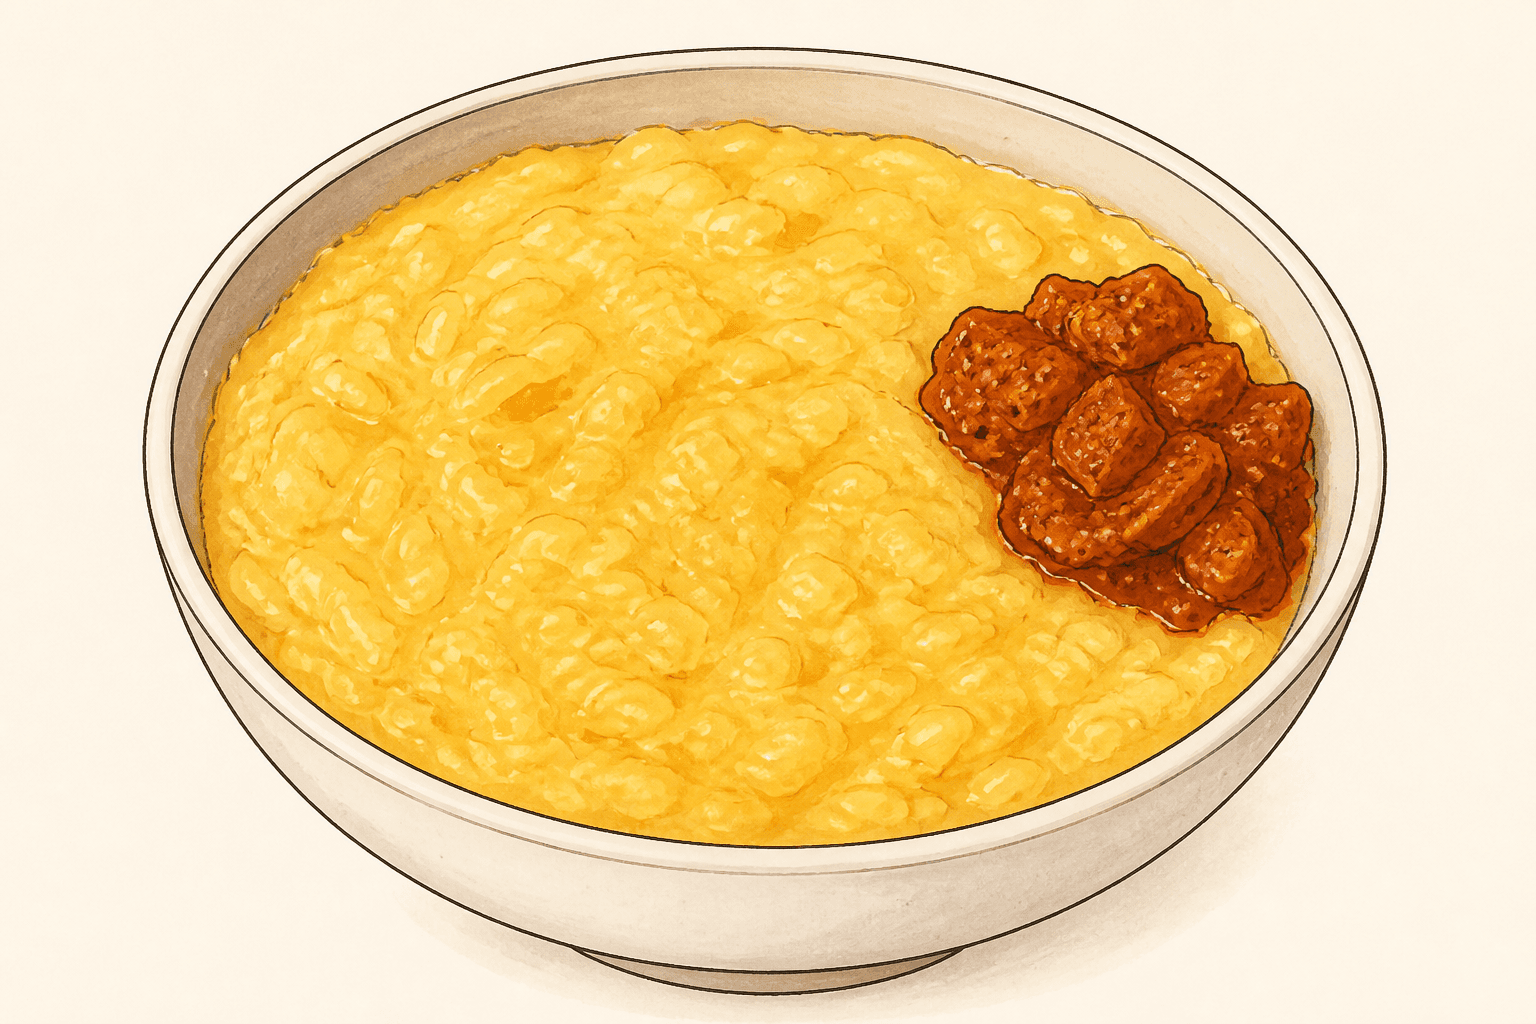 Real image coming soon!
Dal Rice
33 minOne-Pot Wonder
Complete meal on its own
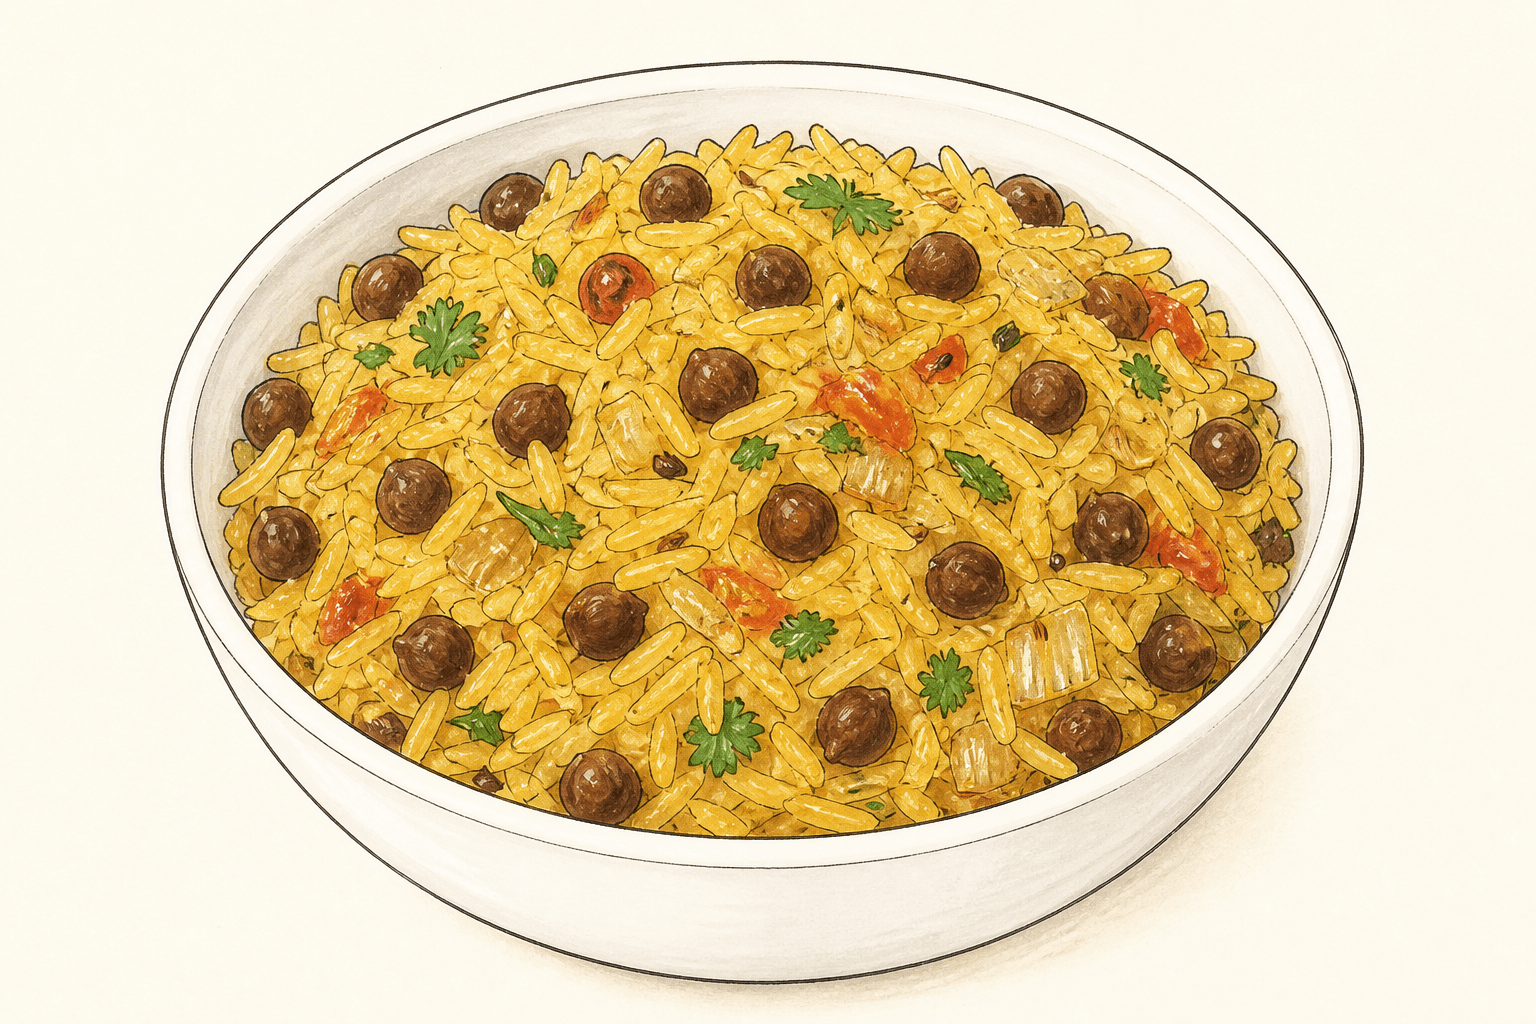 Real image coming soon!
Kadala Pulao
53 minOne-Pot Wonder
Complete meal on its own